background

Showing posts with label recycling. Show all posts

Thursday, 5 April 2012

Upcycling!

So last weekend I did a bit of non toy sewing.  I have been meaning to get around to this for a week or two.  I bought my self a gorgeous blouse from Boden.  I thought I would probably wear it with jeans. I did then spot this lightweight needlecord skirt in my wardrobe. Now this skirt has been a bit of a pain to me. Unless I wear it with boots, it does nothing for me at all. The length is all wrong for my leg shape (I don't seem to have the slenderest ankles to my dismay).

 It is quite a lightweight fabric so not ideal for winter wear really and I never wear it in the summer as you might imagine, yet I still couldn't bring myself to ditch it. This made me think.  Nothing to lose other than a wee bit of time and maybe a couple of quid on the right trim. I actually spent longer looking for the fabric than I did doing the work I think. I was about to give up when I found this one under another in John Lewis.
So, I shortened it to just the right length for my stupidly proportioned legs and made some bias from the floral fabric to cover the selvedge. I saw no point in hemming when I could make it beautiful in this way. Then, added a thinner strip over some purple ready made bias further up.  I had intended to add some flowers in the style of this one which I loved. Although, once I reached this point, I thought it was probably just right in the less is more category


 I couldn't get a shot of me in them, but trust me, the length is now the perfect length for me and I realised that these Birkenstocks I have will make it look like I have spent a fortune! Will have to paint those toenails before the sun comes back out though.


Sunday, 18 December 2011

DIY Wrapping

I dont know about you, but I find commercial warapping paper either quite boring or if its nice (more the latter in my case) and tasteful, hugely expensive.  I hadn`t found any I liked this year and had a wrapping urge last Sunday.  So what was a girl to do with the notion in her head and the gifts ready to wrap but not tools to complete this whim?  Answer, make it yourself.  Now, last year I used brown paper and stamped it up with some tags and red and white bakers twine.  This year, no forefthought at all so had to be even more resourceful.
A good few years ago, we bought my son a huge roll of drawing paper as he was always drawing. That has stopped and I found the roll on top of the kitchen cupboard.  This I stamped with a metallic blue mandala stamp and raspberry snowflake. Tags were simply cut from some blue gingham card I had in my stash. There is always some suitably  coloured embroidery floss floating around here. That just left the tying up finishing touch. I had some hessian which wa sleft over from previous projects and cut this into strips.  Apart from that large one, which the hessian was not long enough for. This was solved with brown paper cut into strips with fancy scissors and punched with my crop o dile punch.  What do think? I even made a cute gift bag for a small gift. Obviously,  there are a few more but these give a feel of what I did.


Friday, 6 May 2011

Charity Shop spoils

I went into town yesterday to get some supplies for some new rag dolls I am working on at the moment. More of those later when they are complete.  On the way I spotted this cute glass cakestand in one of our charity shops at only £3. Only having a little cash in my purse and quite determined not to use the plastic, I got my thread and elastic first, and as luck would have it, exited needlework shop left with £3.27 in my purse. It was meant to be wasn`t it? No, I dont need it really, but £3!  I ask you, would you have passed it up.

Tuesday, 8 March 2011

A Finished UFO at Last. Oh boy was it a wait

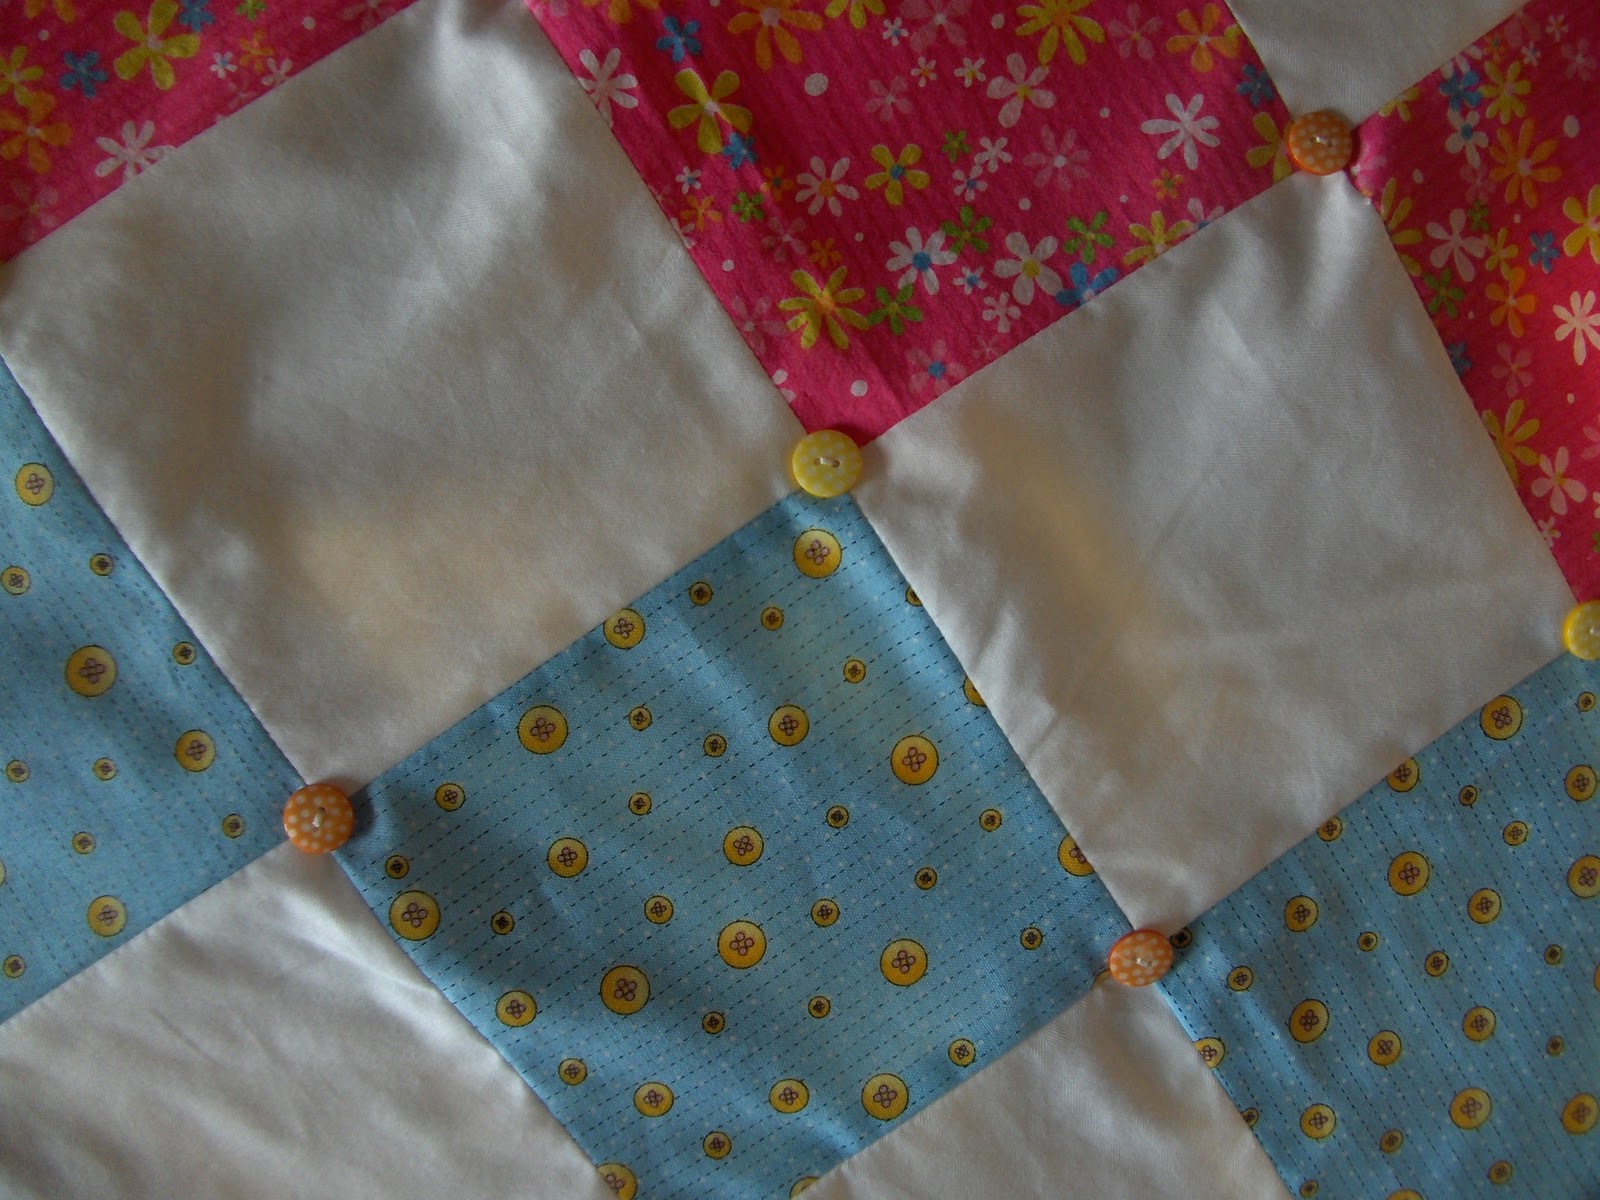
I have been concentrating on getting some of those unfinished objects (UFO for all you that have not heard that term already).  Not seeing aliens spaceships.  I cut out this patchwork blanket way back in March last year after completing this one.  As usual, I got distracted by other exciting things to make and although it has been pieced for quite some time, I never quite got to finishing it. It consists of both new fabrics and some reclaimed shirting (some quality brands in there as I recall).  Now, a purchase of one piece of soft polar fleece, 70 dotty spotty buttons and only 2 evenings work, it is ready to go.  Who would have thought it was that close?  It is not a quilt per-say, but a patchwork blanket.  It is machine pieced on the front, but backed with snuggly soft polar fleece for comfort and warmth, and held together with  hand sewn buttons instead of top quilting to keep the softness of the fleece.  It just covers most of the top of a single bed and is the perfect snuggle blanket for chilly days or in the car for a little one (not under 3`s because of the buttons. I have no little ones any longer so it will be in the shop very soon.  Just need to properly measure it and price it up. Now I have to find all the receipts for all the components!  That will teach me to leave things halfway.

Imagine if you will, the look on my teenage sons` face when he came home to find this on his bed.  Not impressed, I can tell you.  Its the only single bed in the house!


I finally get the Mr. on the blog and he hides behind the quilt. Hey its a start!  Gotta love human quilt hangers.


70 hand sewn  buttons I will have you know!!!

So snuggly. I love mine on a chilly evening. ......and the odd lazy afternoon.


Friday, 25 February 2011

Folksy Friday

Its no secret by now that I have a thing about vintage tea cups and saucers. here are a few teacups used in a variety of ways for my Folksy Friday offering.  Enjoy. White, no sugar for me please.  There are clickable links to each item.

Large image
Vintage Cup Succulent Plant
by Candys Emporium
http://www.folksy.com/items/932793-vintage-cup-succulent-plant?shop=yes
Large image
Mini Teacup Necklace
by The Lime garden
http://www.folksy.com/items/965345-Mini-Tea-Cup-Necklace?shop=yes
Large image
Vintage Teacup Stand
by Marmalde Button
http://www.folksy.com/items/1047141
Large image
Teacup Pin Cushion
by Made by kate d
http://www.folksy.com/items/1383645

Large image
OhFlowersForTea - Teacup & saucer
by KerriAnns Creations
http://www.folksy.com/items/1047073

Large image
Peppermint Japanese Teacup Candle
by FionaPitts
http://www.folksy.com/items/1168597
Large image
Print by Ella Masters art and Illustrations
http://www.folksy.com/items/840213


Dont forget to make tea you need a teapot and I have the very thing to keep it warm in my own folksy shop and as a special treat if you found it by reading my blog and are in the UK I will give you free shipping. To snap it up, just send me a message via the item and the first one gets the free shipping. I will change the shipping in the  listing before you purchase.

Large image

Tuesday, 4 January 2011

Happy 4th January!!!!!!

Well its different isnt it?  I really think 4 days into 2011 is too late to bandying New Year Greeting about.  Hope you all had a fab Christmas.  Mine was quiet to say the least and I got a horrid cold the day after boxing day.   Its pretty much gone now and I back off to the day job tomorrow so normal service should be resumed.

Upon finishing the custom orders for Christmas I put down the knitting needles and decided to finally finish a quilt I started around April time!  It had been pieced for months but I knew my dodgy machine was not up to the top quilting so put it off as I have never hand quilted before. I thought it was going to be tedious and drive me mad, but actually, I am finding it very relaxing...and warm on my lap hehe.  Two blocks and the binding to go and I can share it with you.

I have spent this morning updating the Perfect Little Purse Company , re listing some items, and adding a few new things which ironically are not all purses.


Monday, 20 December 2010

Christmas has arrived at Perfect Little World, at last

I put up the lounge tree a couple of weeks ago and took photos, but never seemed to have time to upload them or write this post. Its kinda dark but gives a flavour.


The mantlepiece had some attention too. I had a hideous garland in the garage with horrible shiny burgundy fruit. I pulled off the fruit and some other garish embellishments I did not like then added the nice apples( think there is another in the loft for that gap when I put the boxes back) and some cinnamon sticks and a couple of mini flower pots. I do like a bit of thrifty crafting. The festive duck was purchased last year and is destined to become a favourite.
.
Our tree skirt we always use is very similar to the advent calender from the last post in style and took me absolutely hours to sew and stitch sequins onto but I declared it to be too bright and `just not right` for this years ensemble so it was replaced with this one which only took me a touch over an hour. I think they might just have to be recreated for the shop next year. Wish I had thought of it earlier, doh!  I will always keep the old one as it has very happy memories. Who knows, I may go bright again one day.


These tealight houses are somewhat heirlooms, I have had them years. It just wouldn`t be Christmas without them on the kitchen windowsill. Sorry about the marigolds! OOPs


Even the loo did not escape, meet frosty and friend.

 
 Off to take pictures now of the dining room tree for the next post to bore you with. It will be nice for me to look back on when I am old so you will just have to put up with it.

Sunday, 22 August 2010

Studio To Summerhouse, The transformation

Do you remember my little studio in the garden?


Well here it is as it was a little over a year ago when my lovely daughter moved into her own flat, thus leaving a nice large room purposeless.
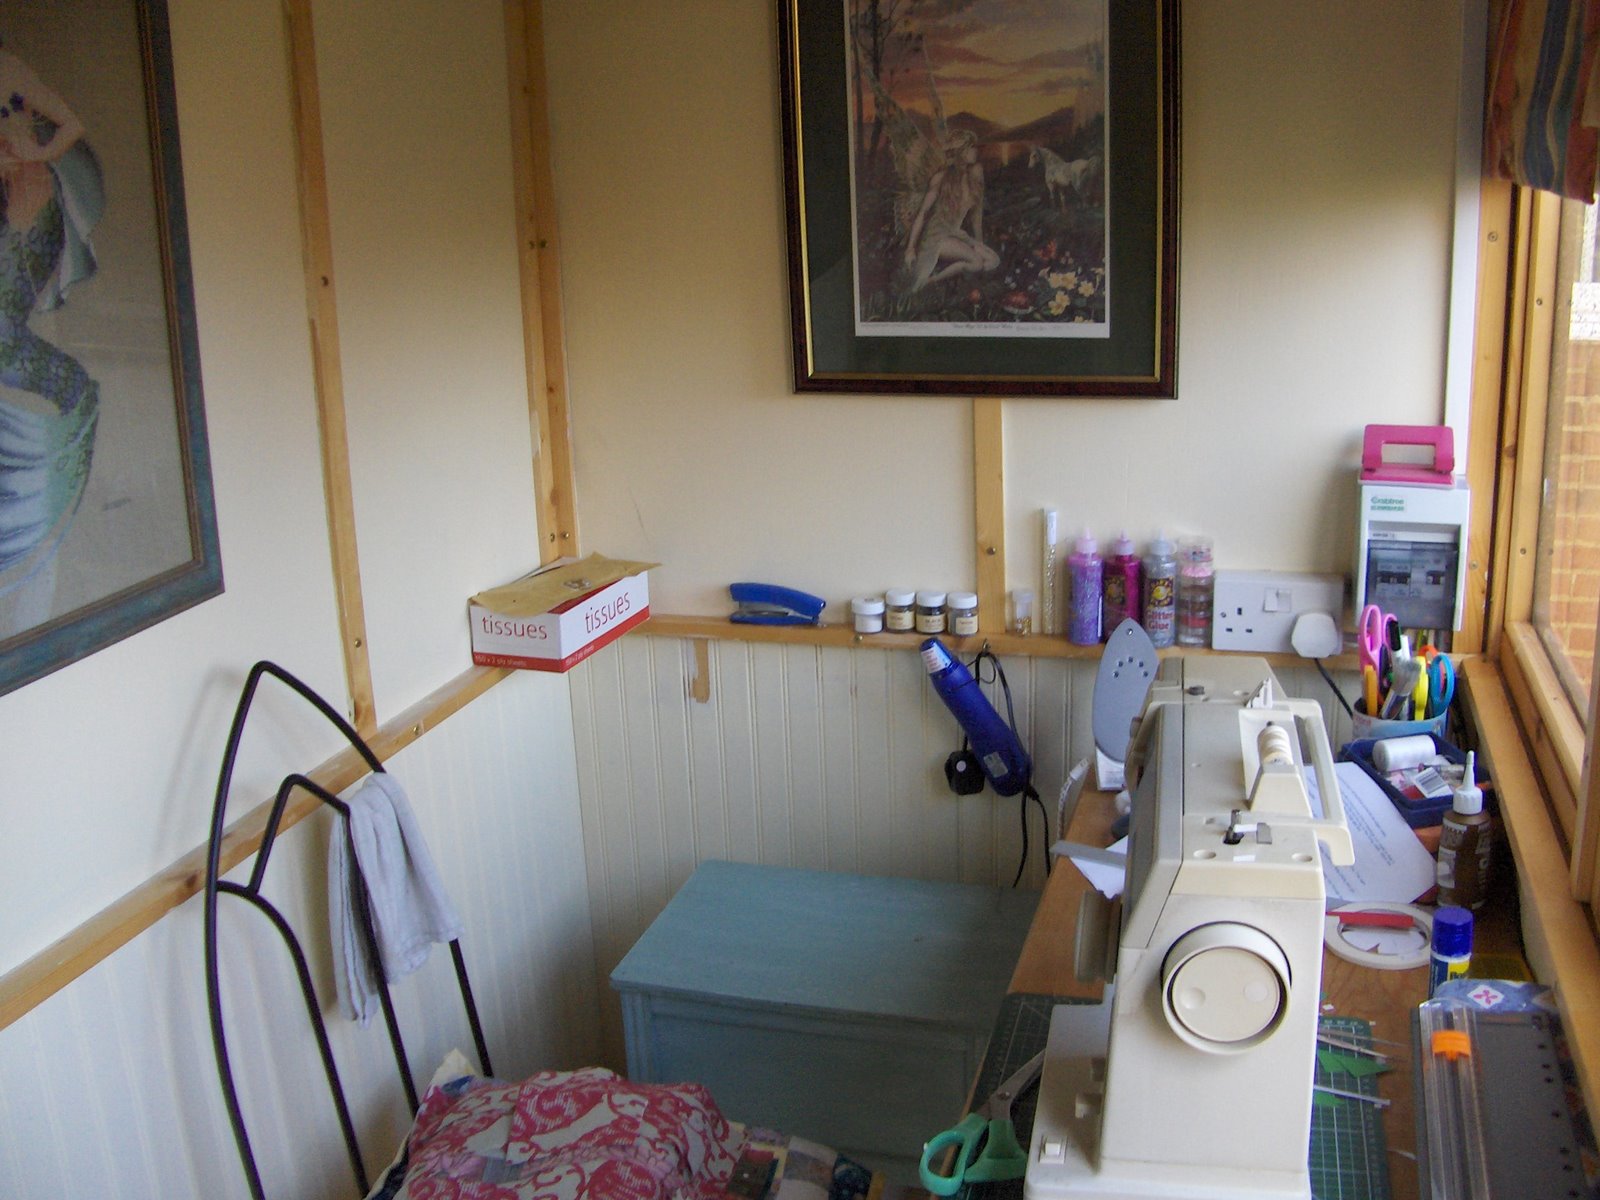
It was my little bolt hole where I made all my bags etc. Boy was it small! Well still is actually. I Have done no extensions, its still only a cute 4ft x 8ft.


After a few months, I kinda got used to the fact that she had left home and tried to not see it as her room and moved all the crafty stuff to a new home. Do you know? I think I make more mess in a large room than I ever did in the carriage.
Well, up until last Wednesday, it had become forgotten and forlorn with crap that we could not be bothered to get rid of, and quite frankly a waste of space. It has to be said that hubby wanted to get rid of it, but, I thought it would cost an awful lot to get rid of and besides he spent quite a lot on buying it for me. So, I believed it could still be used. So when I found 2 perfect wicker chairs on ebay starting at £5 and pick up 40 mins away, I went for it. Luckily for me, no-one else was game so I got a real bargain. Then we sold my sons lego which he rejected when we did a pre-decorating clear out. That signalled me to get started. Off to B&Q for paint I went

This is how it looked all cleared. Quite nice but very tired.


I chose a colour called `Misted Hills` which was on the green page as I thought one tin would do the carriage and my utility room and had already picked it for that.
So, I did a patch in both. Imagine my surprise when it was indeed a pale sage in the utility, but bluey lilac in the studio! I had to say `sodit` and carry on cos I had it now. I was incredibly worried and, when all panels were painted, it looked like a shabby battleship!!! I felt no better and there were rude words I can tell you! Quite certain at this point I had goofed up.


So I went in for a coffee and to breathe deeply.
Never to be defeated, and still with some optimism, I decided I would paint the beading cream as I had some cream satinwood left from sons bedroom. Ever the miser, I mean thrifter, this would only cost my time and may just work. Right?
Do you know, by the time the woodwork was done, the emulsion had dried to a gorgeous eau de nil colour and was just bloody perfect in my opinion.


Being so small its so hard to get a good angle. This last shot is through the glass so a bit fuzzy but you can sort of see it all.

All in all a very frugal project.
Half tin of emulsion (cos need other half for another room) £7.50
2 x chairs £5
2 x wicker hearts (the most expensive thing! and I changed the ribbon from how they arrived) £7
Table and tray mementos from my dear Nans flat as she has gone to a rest home and will love where I have put it as she loves summerhouses £0
Other decorations, already had.
Total spend £19.50
Not bad if you ask me. Yes, I have sat very smugly several times with coffee in one hand and cake in the other. I even knitted out there yesterday.

Monday, 19 April 2010

Pillow fun and its green

Well ok pink and grey but you know what I mean!


Here are the pillows I made using the rest of that ginormous supersoft sweater I was sent for this project, the same fabrics for trimming and some rescued shirt buttons. They have a zipper up the side and removable pad also handmade. The filling is new but the cover for that is from a clean but also recycled curtain lining I had floating about. I am delighted with how my recycling projects are going. These were to go in the shop but i am unsure. They look kinda cool on my freecycle chair which I am also super chuffed with. Hubby and son think its "well fogey and naff", but I have always wanted a wing back chair and whilst brown dralon is not awful its not my taste. I am considering making a loose cover for it. A first for me, but I have an expert in the family and grew up watching her making these things. Whilst she is completely retired from `all that` these days, she has agreed to help me.
So, back to the pillows. I need help here, keep or sell?